Wizard Quick Start Guide
Follow these steps to quickly create a synchronization process between two work systems using the SyncNow wizard.
1️⃣ Select the First System Connector
The first step is to select the first system connector. SyncNow provides two options:
-
Use an Existing Connector:
Click "Use existing system" to select from previously configured connectors. Confirm your choice to proceed. -
Create a New Connector:
- Enter a Name for the connector.
- Select the system Type from the dropdown.
- A new window will prompt you for additional connection details based on the system type.

Example fields for Azure DevOps Server:
- URL: Server address of your Azure DevOps instance.
- Username: Authentication username.
- Password: User account password.
- Access Token: (Optional) Secure authentication token.
- API Version: Specify the API version.
Advanced Properties:
- Anonymous Webhook Notifications: Toggle as needed.
- Allowed IPs and IP Ranges: Restrict webhook access by IP if required.
Project and Filter Selection
If the connector supports projects (e.g., Jira, Azure DevOps), a project selection dialog will appear. Select the project to synchronize.
You can also define field filters to include only relevant entities. Specify the field name, operand (e.g., equals, contains), and filter value for fine-grained control.
Note:
Ensure the connection is valid before proceeding. If validation fails, double-check your details.
Click Save to configure the connector. Once validated, proceed to the next step.
2️⃣ Select the Second System Connector
Repeat the process to select or create the second system connector. The workflow and required fields are identical to the first connector. Once configured and validated, proceed to mapping entities between the two systems.
3️⃣ Sync Process Mapping
Map entities and fields between your selected systems. You have three options:
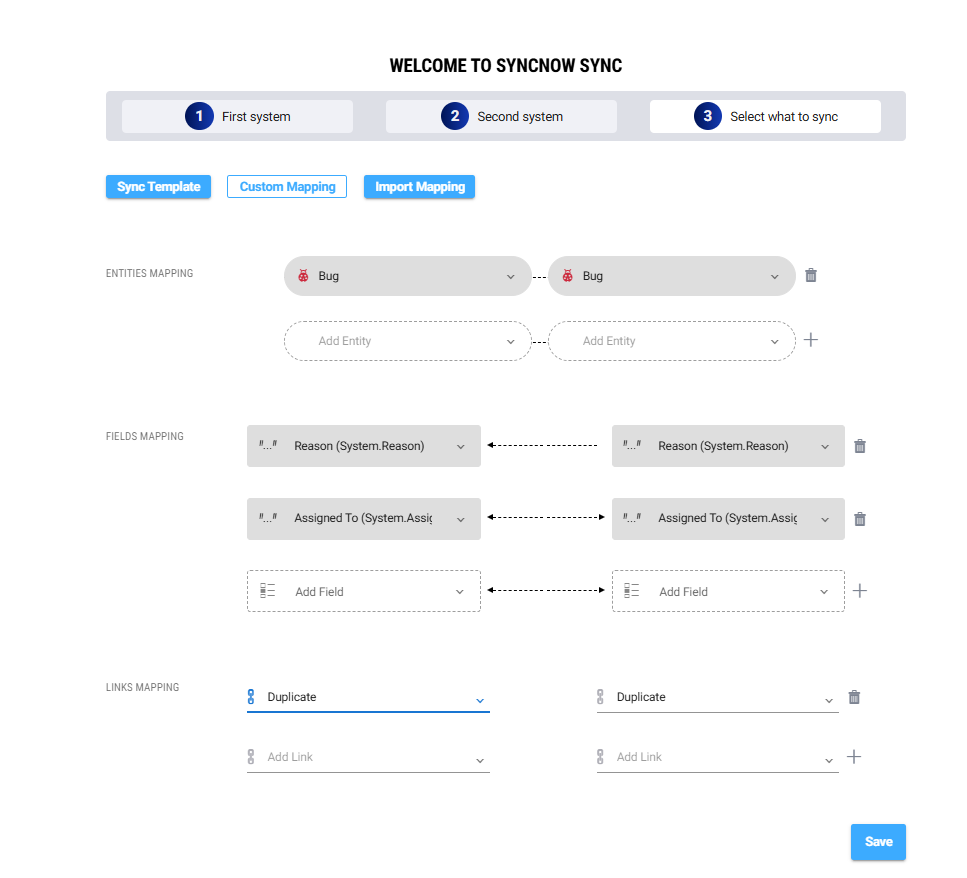
-
Pre-defined Templates:
Choose from a library of mapping templates for common use cases. -
Custom Mapping:
Manually select and pair entities and fields between systems. Define entity link type mapping to establish relationships. -
Import Pre-defined Mapping File:
Upload a mapping file with pre-configured mappings for quick setup.
After mapping, click Save. You’ll be redirected to the Sync Process or Sync Process Status page to view advanced options or monitor progress.
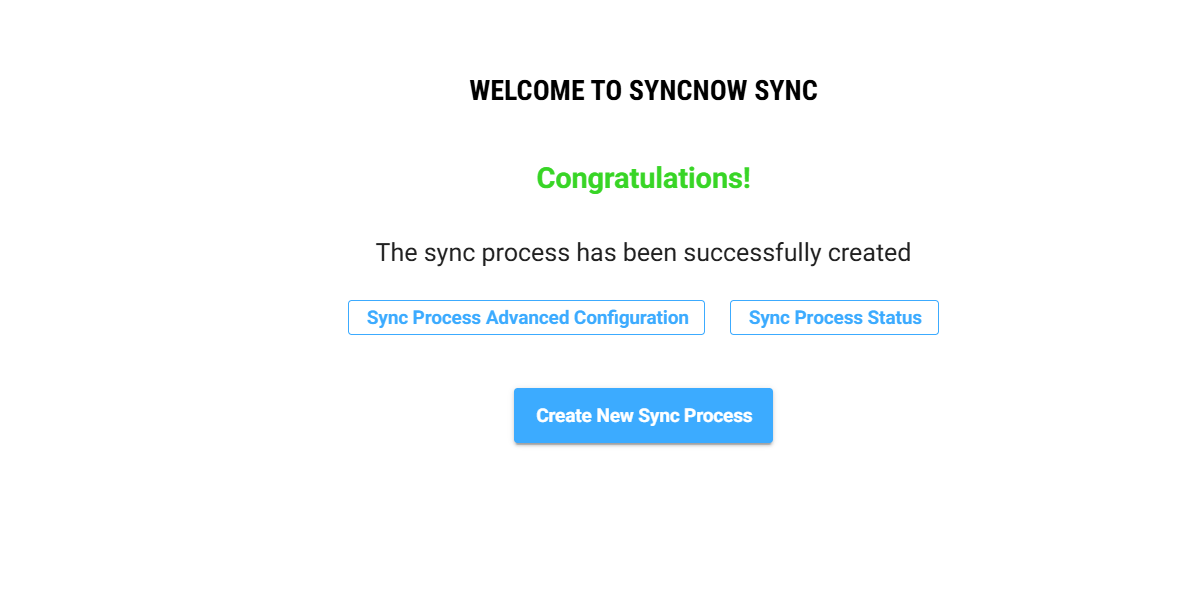
🎉 You’ve now completed the wizard and set up your first synchronization process with SyncNow!